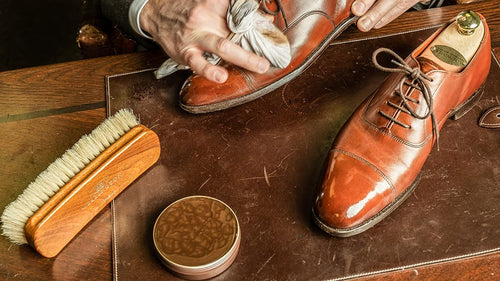
Kirby Allison, founder of the Hanger Project, shows you how to shine a pair of Allen Edmonds 5th Avenue. Allen Edmonds shoes are a great pair of shoes to own but in order to keep them looking as great as new, you have to maintain their shine. Follow these steps to shine your pair of Allen Edmonds Fifth Avenues.
Products used in this video:
Transcription
Hi, my name is Kirby Allison and here at The Hanger Project we love to help the well-dressed take care of their wardrobes. In today's video, I'm going to show you how to renovate a pair of Allen Edmonds Fifth Avenue cap-toe shoes.
This is in their dark brown. These are the shoes of a friend of mine and as you can see they're in pretty terrible condition. I mean this is a pair of shoes that probably has never touched polish since my friend originally purchased them. As you can see there's scuffing all over the shoe. Some pretty deep scuffs in the back. And then also you can see there's pretty severe discoloration of the edge and heel.
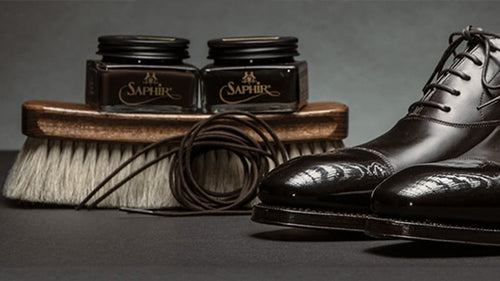
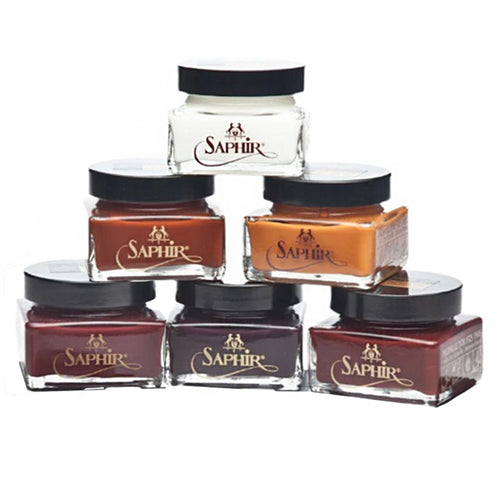
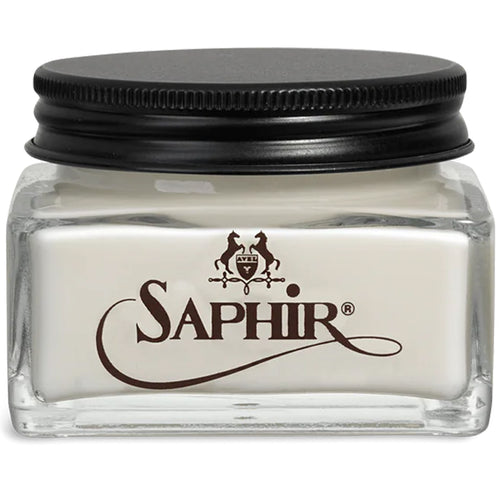
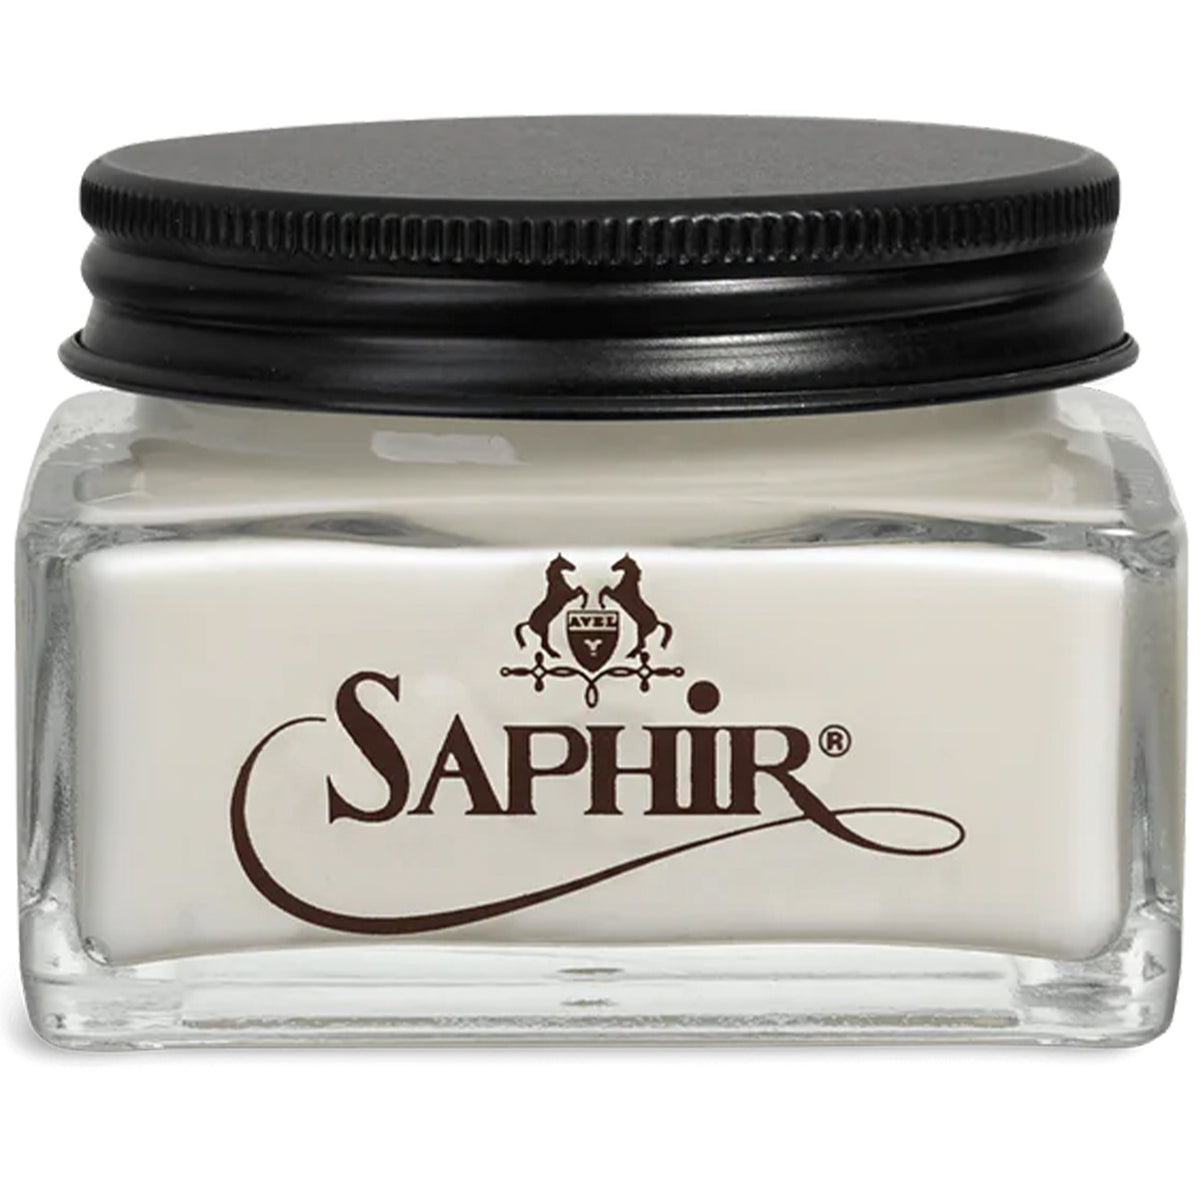
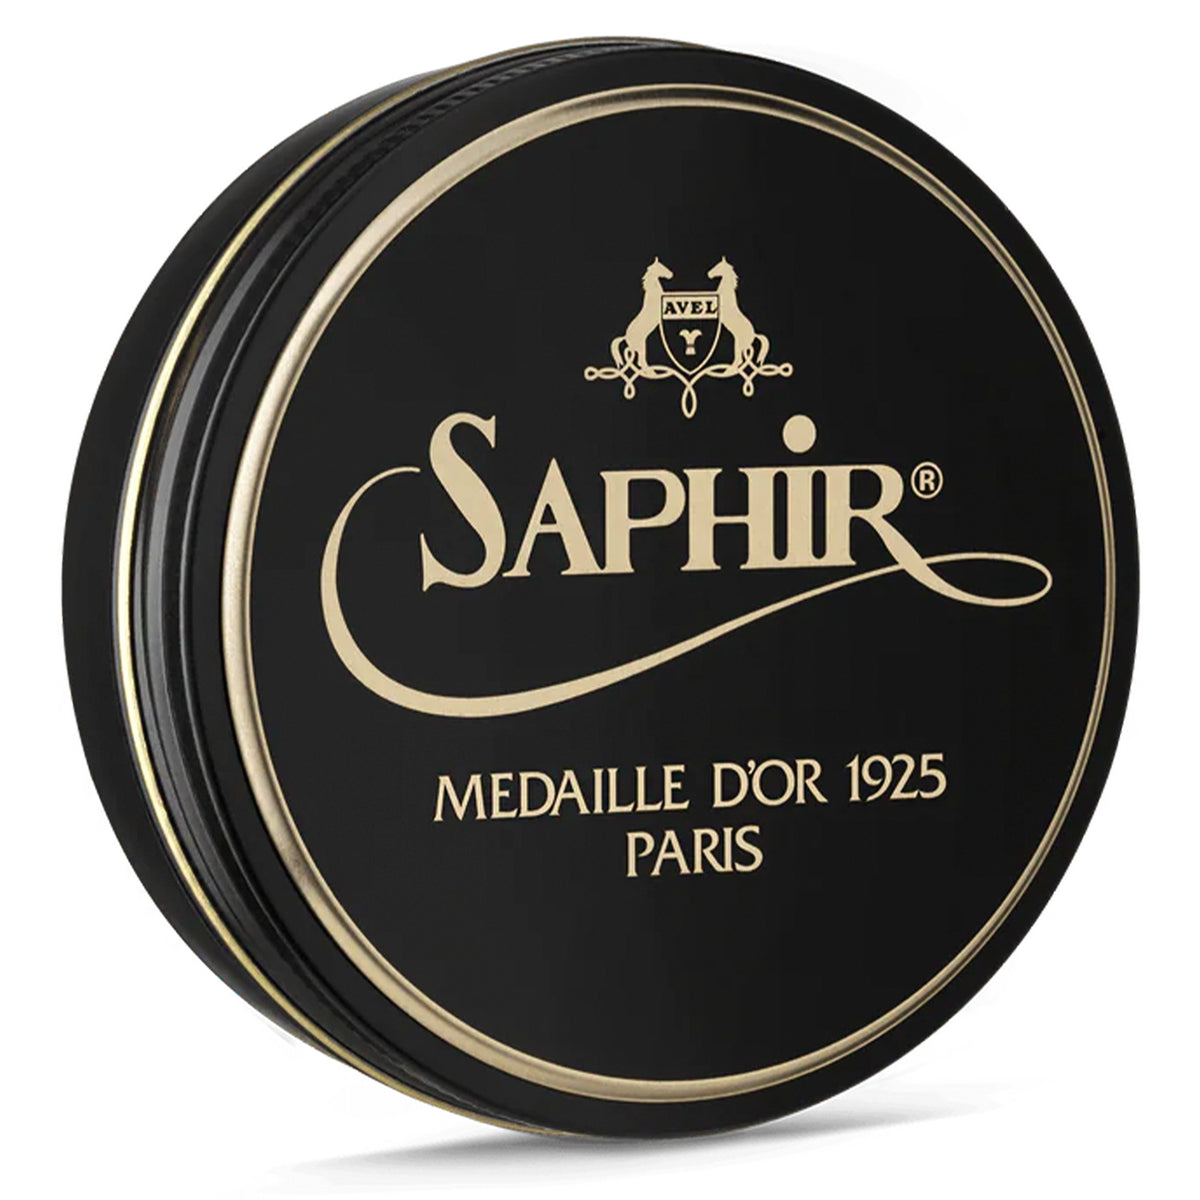
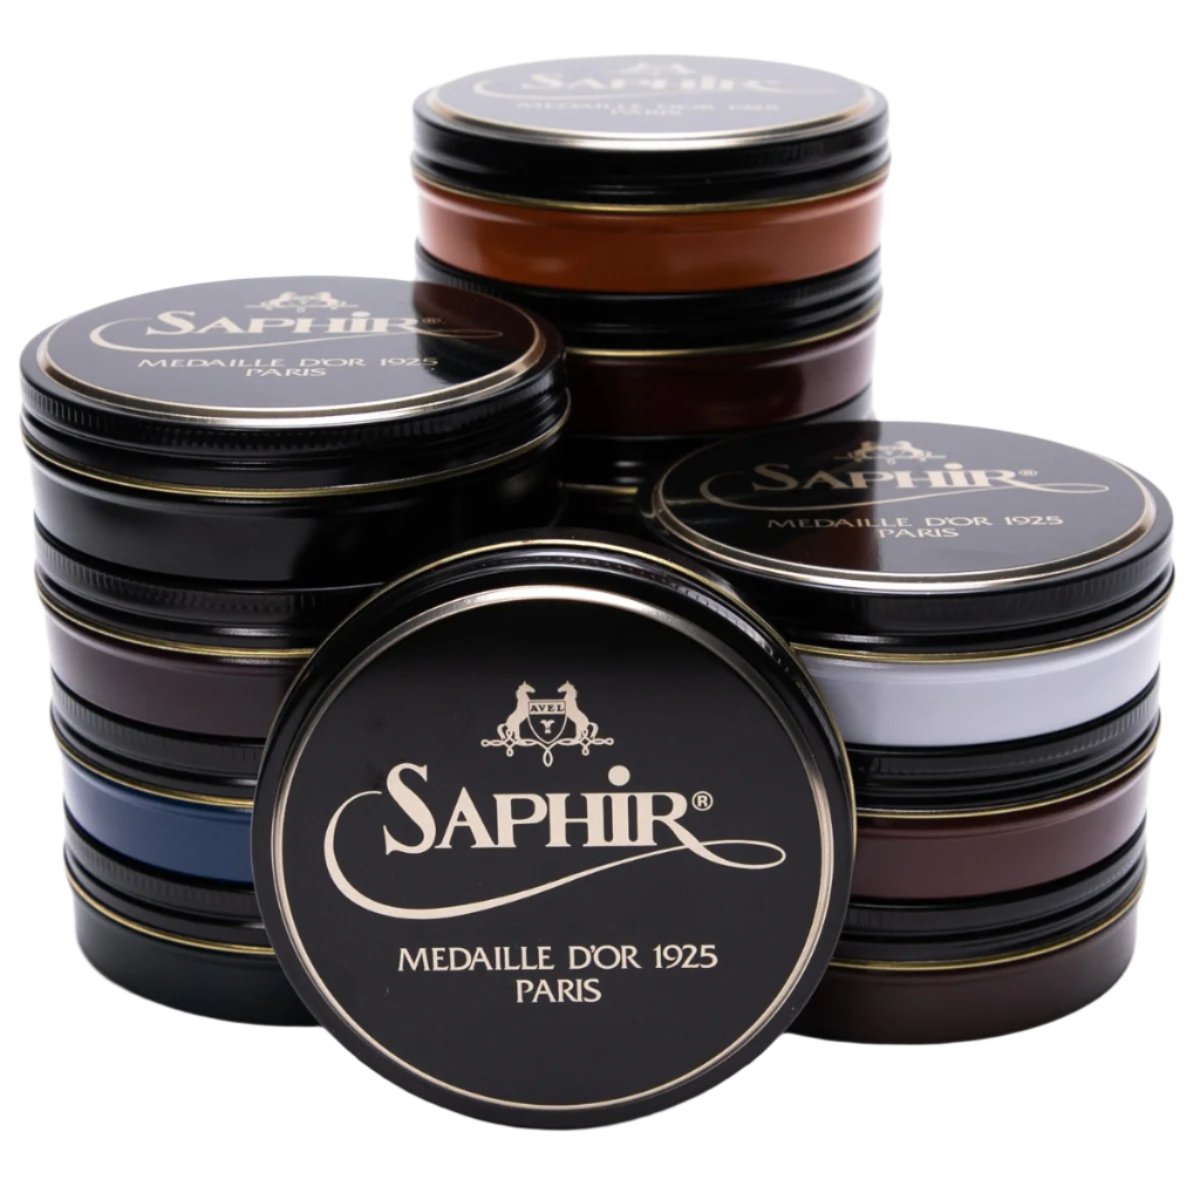
I'm going to show you how you can completely renew a pair of shoes even in as bad as condition of this using the Saphir Medaille d'Or shoe polish. So just to give you a brief overview of the steps I'm going to go over. Now first, I'm just going to do a really gentle kind of quick cleaning with the Saphir Reno'Mat. The purpose here is to pull off any type of dirt or polish that's on top of this leather. Since it's been such a long time since these shoes have probably received any attention, I'm going to use something a little bit stronger than a Saphir leather soap. But if you had a Saphir leather soap, that would work perfectly also. Then what I'm going to do is I'm going to condition and recolor these shoes using the Saphir Pommadier cream polish. Now I have both the dark brown and a havana brown here and we're going to test and see which is a better match for these shoes. Then I'm going to use the Saphir Pate De Luxe deluxe wax polish to just elevate the shine and provide a little bit of additional water protection for these shoes. And then finally I'm going to finish with a little bit of the Fiebing's edge dressing. This is in their brown. I'm actually going to use that to help really kind of penetrate and recolor the edges since it is so discolored. And then I might actually use a little bit of the brown cream shoe polish on the edges also to kind of elevate that shine. And then finally you can see these Allen Edmonds have the original Allen Edmond shoelaces, so I'm going to replace these shoelaces with a pair of our Kirby Allison Sovereign Grade 100% cotton shoelaces. Since we're going to replace these shoelaces anyway, I'm going to go ahead and take this as an opportunity to completely remove the shoelaces. Now on a normal shoe shine just like a daily or weekly kind of shoe shine, I don't remove the shoelaces from my shoes because it's a lot of work for not much benefit and secondly you know removing your shoelaces does put additional or unnecessary wear on the eyelets of the shoe and those are very difficult to replace if they become damaged. So, I prefer to minimize the amount of times I remove shoelaces.
Okay so I've removed the shoelaces from these shoes. I'm going to start on the right shoe. I've got a little bit of the Saphir Reno'Mat. I have shaken that. The purpose of using the Saphir Reno'Mat is really in this case just a gentle clean to make sure that I'm pulling any of the shoe polish off of this. I'm not going to go super strong because I really don't know how these shoes have been treated and this is probably the first time Saphir Medaille d'Or has been used on these shoes. it's nice to start with the Saphir Reno'Mat just to pull any type of polish that may be sitting on top of this leather that contains silicones off, so that the Saphir Medaille d'Or can really penetrate deep into the leather using medium to firm pressure. Okay, so you can see a little bit of polishes come off. I'm going to set the right shoe aside. I'm going to switch to a clean area of my chamois and I'm going to repeat the process for the left shoe. Okay so I've used the Saphir Reno'Mat to pull any of the superficial polish off of this leather. It's opened it up a little bit and so now the leather has been prepared to take the Saphir Pommadier cream polish.
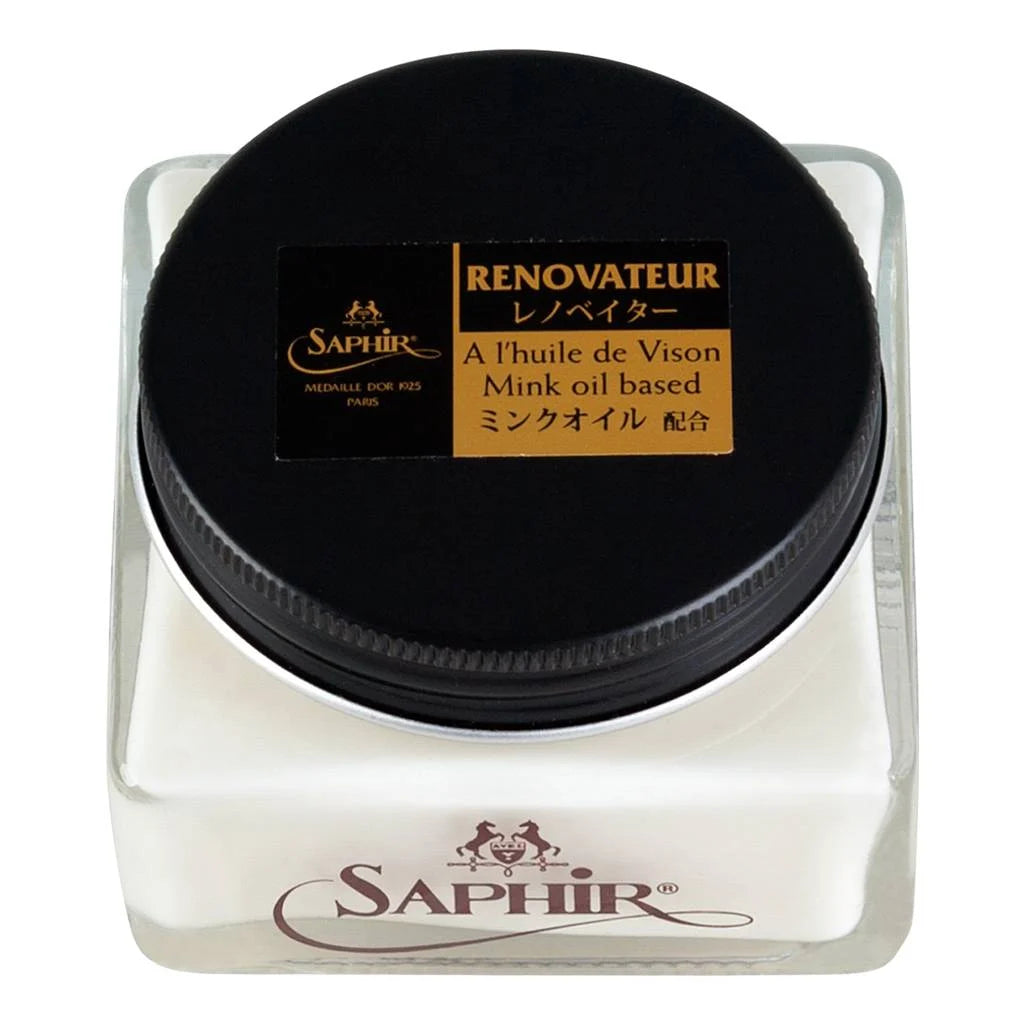
So, I've got the Saphir Pommadier cream polish Medaille d'Or here and I've got two colors. Now the first color is the havana or the tobacco brown and the second color is the dark brown. I'm not certain which color polish is really going to be right for these shoes, so I'm just going to take a little sample on my finger and then just test it on the leather. So again, it's important to remember that the pigment always goes on transparent. So, although whenever you look at this right next to the leather it looks much darker. As soon as you spread that out, it thins out and becomes more transparent. Now you can see the dark brown is really significantly darker. So, you could use the dark brown if you were looking to antique, but I think in this case I'm going to prefer to go with the havana brown. It's slightly lighter than the dark brown and I think is going to produce a better result for us. So, I'm going to start with the right shoe again. I've got my Hanger Project cotton chamois here. I'm going to apply some of this on to my cotton chamois. I like to kind of dab it around first and then begin to work this into the leather. Now I'm not using any Saphir Renovateur. You know there's really no reason for that. This shoe would actually really benefit from the Saphir Renovateur because again you can tell that this leather has been really neglected. But in the essence of time, we're just going to use the Saphir Pommadier cream polish. The Saphir Pommadier cream polish is incredibly high-quality you know as all the Medaille d'Or products are. So, you do get a good deal of nourishment from the Pommadier cream polish. I mean that is one of the primary benefits of a cream polish over a wax polish is that it's going to nourish the leather in addition to recoloring the leather. You have a significant higher concentration of pigments in a cream polish and then you'll ever get from a wax polish. So, a shoe like this you know that is quite heavily scuffed is going to benefit from those pigments to help recolor the leather. Really working this into the leather again I want to feed it and I want to recolor any of the scuffing. Okay so I'm going to set this right shoe aside and then work on the left.
Okay so I'm going to set that left shoe aside and then I'm going to buff the polish off of the right shoe. I'm using one of our Hanger Project shoeshine brushes. I've got a pig bristle brush here which has slightly stiffer bristles. You can see with just one coat of Saphir Pommadier cream polish we've actually done a really good job evening out the finish. That's those pigments working and you can see a light shine beginning to develop. Again, those are the soft waxes in the Pommadier cream polish.
I'm going to do one additional quick application to really make sure that I get these shoes recolored and nourished. Now I always like to put a little bit of additional attention right here across the vamp. Again, this is the area that if you don't properly hydrate the leather is most prone to cracking. So, I always like to make sure that I've got additional polish or conditioner right there in the vamp to ensure that we don't have any cracking because of dried leather.
Okay going to set that shoe aside and then buff off the polish to the left shoe. So buffing off the cream polish. Second application. Again, you want to use really fast, brisk motions. That's what's going to really remove that shoe polish and begin to glissage those soft waxes. Okay so there we go. Look at that. I mean all of those scuffings, at least the superficial ones, for the most part has been completely removed. And you know therein lies the magic of such a high quality shoe polish like the Saphir Pommadier cream polish Medaille d'Or. It has such a high-quality pigment in it that it is very effective at removing what even looks like to be egregious scuffs and scratches on leather. So, there we go. This is just after two applications of a cream polish. These shoes look a million times better. After we apply the wax, do the edges and replace the laces, they're really going to look as good as new.
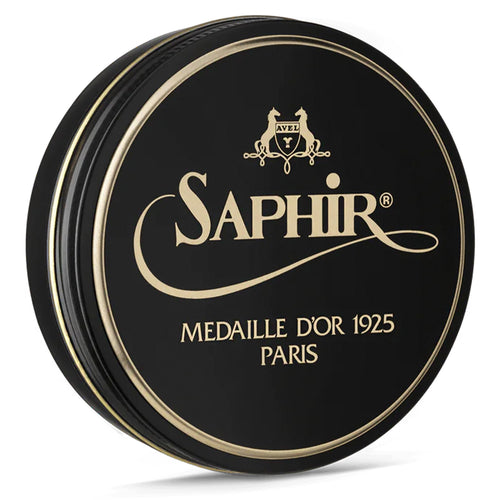
Okay so I have some dark brown wax polish. This is going to provide a little bit of an antiquing effect. Because the pigment and a wax polish are significantly more transparent than a cream I don't have to worry too much about it darkening the leather. Now darkening this leather wouldn't be such a bad thing. I mean it would help kind of provide a little bit more character through just the antiquing process or effect if you will. Now the Saphir Pate De Luxe wax polish is widely considered by shoe aficionados to be some of the best wax polishes out there. It uses an all-natural pine based turpentine. It's really going to penetrate this leather. It has over seven different kinds of hard waxes are in the formulation: beeswax, carnauba, montan wax. I mean it really produces you know not just a brilliant shine, but also and just as importantly a long-lasting shine. So, it does a great job producing a beautiful kind of brilliant shine, but one that you can rest assured can be easily renewed with just a quick buffing of a horsehair brush. So, I'm going to set the right shoe aside. Let it dry.
Here I'm just going to buff with the horsehair brush. I'm not looking to develop a really high shine. If I was I could use some water and our high shine chamois, but you know this is just a general shoe shine. So, the hard waxes from the wax polish again are going to help provide additional protection to the leather, additional waterproofing and will elevate the shine. Shoes looking absolutely fantastic. So again, we've got two coats of the Saphir Pommadier cream polish. One coat of the Saphir Pate De Luxe.
It wouldn't hurt to do a second but if you want it. So, for the edge I'm going to use a little bit of a dark brown polish and I'm going to use the liquid edge dressing. The idea with first using the liquid edge dressing is just that it's going to help further penetrate that edge since it is so discolored. And then I'm going to come back on top of it with the wax to give it a little bit of a higher shine. One of the other things that you can do again if you have edges that are really in bad condition is you can actually take some sandpaper to them to help smooth them. It's another trick Okay so we've got that on. And then next what I'm going to do is apply a little bit of dark brown polish on top of that to help seal the edge. Again, polish is a great edge dressing, but you have to remember to buff it after you're done. Really good on the heels. I'm going to let that sit in. I'm going to do the same to the left shoe. Going to be quite generous to the front. One of my pet peeves is whenever the toe of the shoe or the front of the edge becomes discolored. Okay so I've applied the dark brown cream polish to the edge. I'm going to take a small little welt brush and just buff that to a shine. You want to make sure you remove any excess cream polish especially from the edges and heels. You can also apply a wax polish on top of the cream to further elevate the shine which always looks smart.
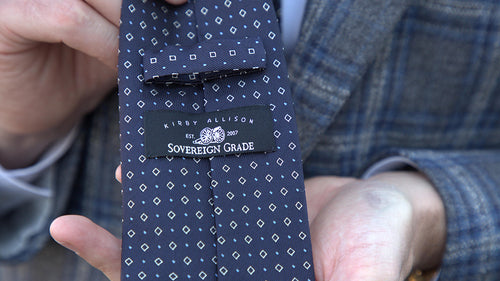
Last but certainly not least our new sovereign grade shoelaces. Now shoelaces are incredibly important to the overall look of a shoe. Often underappreciated. A pair of old and worn shoelaces disproportionately affect the look of a shoe. You can have a beautifully polished pair of shoes but with old worn-out laces it still just doesn't look good. So, going the extra mile we're placing the laces on a pair of shoes really makes all the difference. Here I'm going to be using our Sovereign Grade shoelaces that we have made out of a hundred percent cotton out of Northampton. These are our round laces which will look really nice on these brown shoes and I'm using our 80-centimeter length which is perfect for the six eyelets of Allen Edmonds. So, there you go. New shoelaces as you can see looks as good as new. I've got our Parisian knot here. Really smart. Double knot.
And these Allen Edmonds have been totally restored, renovated, renewed and they look great and are ready for a night out on the town. So just a few simple products here using the Saphir Renovateur and these Allen Edmonds Fifth Avenue's look brand new. So really simple. Took about 25-30 minutes and they look great so.
In today's video I'm wearing one of me bespoke Chris Despos suits. This is a navy or a blue a fresco suit with patch pockets. I'm wearing a bespoke charvet shirt, of course, in my trademark white along with one of our sovereign grade regimental rep ties. Of course, like all my suits these have tabbed trousers which I really enjoy for just the simplicity and the elegance. The trousers are uncuffed and I have a pair of our small dot Palatino socks that beautifully match this suit. And then today I'm wearing a pair of my Saint Crispin's cap-toe oxfords that are dark brown.
If you enjoyed this video give us a thumbs up and please subscribe to our channel and turn on your notifications by clicking the bell to the right of the subscribe button so that you can learn whenever we release new videos. If you have any questions or comments about anything we discussed on this video please ask them in the comment section below. And of course please visit hangerproject.com where we have the largest most comprehensive collection of luxury garment care and shoe care accessories in the world, as well as, many other incredible products for the well-dressed. And while you are there subscribe to our newsletter to receive notifications of new product launches, promotions, as well as, a weekly digest of all the videos we publish here on our YouTube channel. I'm Kirby Allison and we love to help the well-dressed take care of their wardrobes. Thanks for joining me.


